
Good day!!!
Just want to apologize for my English. I am from Belarus and if there are errors, then feel free to write about them, I will correct them :).From that post I start writing about cisco equipment. I will publish various examples of variants, scenarios, diagrams networks and an equipment configuration cisco.
I hope that for somebody will be easier to learn, understand or obtain something new in network equipment configuring on basis cisco.
Ok, first post I will dedicate for initial configuration of cisco router. I invite all of you …
I do not have any cisco router, so I will be use GNS3 to emulate device. In this program are used real IOS devices and all commands of configuration are available and identical to commands on real devices. Differences can be insignificant only because of version IOS.
Let’s launch GNS3, then add any router to the working area (I selected 3745) and then launch device. We assign to router IDLE-PC parameter and go on it through console. How do all these steps, I told in the posts devoted to installing, configuring and adding of devices in GNS3.
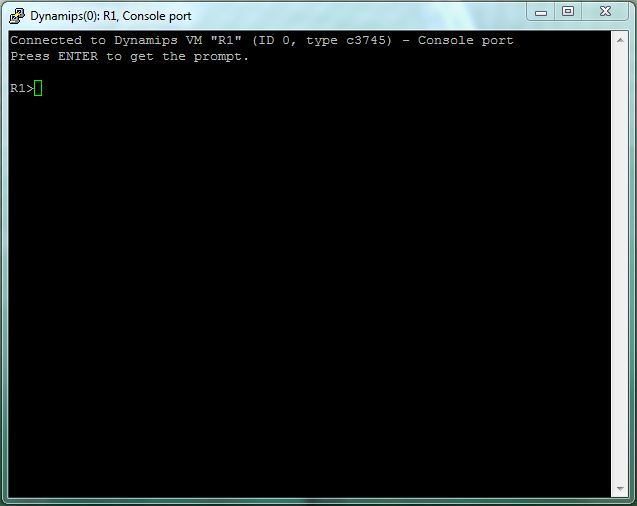
After all manipulation you should be see this window:
Cisco devices have different mode of configuration. Here they:
-
Router> - Restricted review of a configuration. You cannot make changes in this mode;
Router# - this is privilege mode, where you can view all configuration and make some changes in configuration (this mode known as «EXEC-level mode»);
Router(config)# - this is global configuration mode of the device (here introduced the basic commands for configuration);
Router(config-if)# - this is interface configuration mode;
Router(config-subif)# - this is subinterface configuration mode;
Router(config-line)# - this is line configuration mode (you can make configure vty (telnet, ssh) and console);
Router(config-router)# - this is router configuration mode (here you make configuration dynamic routing (such as RIP, IS-IS, OSPF, BGP).
-
R1>enable
R1#configure terminal
R1(config)#
- R1(config)#hostname Router_1
- Router_1(config)#username administrator password cisco
- Router_1(config)#enable secret ciscocisco
- Router_1(config)#service password-encryption
For this purpose, we go to line vty configuration mode and configure to use local database for authenticate us (username and password which we set hardly above), use telnet and ssh for connection, session idle time 10 (ten) minutes and option "carriage return" when you enter commands and issuing system messages:
-
Router_1(config)#line vty 0 14
Router_1(config-line)#login local
Router_1(config-line)#transport input telnet ssh
Router_1(config-line)#exec-timeout 10
Router_1(config-line)#logging synchronous
Router_1(config-line)#exit
-
Router_1(config)#line console 0
Router_1(config-line)#login local
Router_1(config-line)#logging synchronous
Router_1(config-line)#exec-timeout 10 0
Router_1(config-line)#exit
Router_1(config)#
- Router_1(config)#banner login с "your text" с – «с» - a separator, its presence is required
- Router_1(config)#no ip domain-lookup
-
Router_1(config)#do wr
Building configuration...
[OK]
Router_1(config)#
Now go out into the privileged mode and take a look our configuration:
-
Router_1(config)#exit
Router_1#show running-config


- 1 – our banner;
- 2 – our user;
- 3 – our password for user;
- 4 – our password enable secret.
Go to interface configuration mode:
-
Router_1#conf t
Router_1(config)#int fa 0/0
Router_1(config-if)#ip address 192.168.0.1 255.255.255.0
Router_1(config-if)#no shutdown
Router_1(config-if)#exit
Router_1(config)#
-
Router_1(config)#ip domain-name test.com
Router_1(config)#crypto key generate rsa
*Mar 1 02:18:20.731: %SSH-5-ENABLED: SSH 1.5 has been enabled
Router_1(config)#
Ok, ssh was started, telnet working by default. Save your configuration («do wr»).
For check, I must to connect our virtual router with physical network (how to do this, I described in this post). In the end, you must have this topology for check:

Let's start Putty on local PC and check access (telnet and ssh) on IP - the address of our router.


As you can see, ssh is working.
Congratulate you!!! We are finished.
On this step, I want to finish my post. Thanks for attention, I hope, you have received for yourselves the helpful information.
If you have a questions or comments, then do not be afraid to write me!!!! This is my contact information. I will pleased to answer!!!!
I’m waiting for you in next posts!!!
With best regards, Ant0ni0n
No comments:
Post a Comment